Step by Step Installation of Google Cloud Platform Speech-to-Text API – Part 1, we can continue on Part 2 and Part 3.
Google has provided an API that enables developers to convert speech into text in over 120 languages using neural network models.
In this blog, we can see how to install Google Cloud Platform Step by Step and how to activate Google Speech-to-Text API.
-
Log into Google Cloud platform https://console.cloud.google.com/.
-
On the left top corner next to Google Cloud Platform, just click the dropdown to create a new project.

Google Cloud Platform
-
Click “NEW PROJECT’

Create New Project
4. Type your project name “xxxxxxx” and click create.

5. You can see a notifications popup in the top right corner and shows “Create Project: speech-to-text-demo” created.
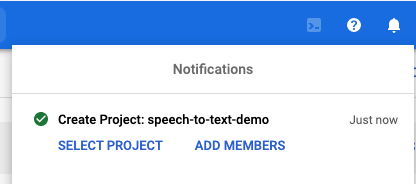
6. Select your project “xxxxxx” by clicking “SELECT PROJECT” which you created just now.
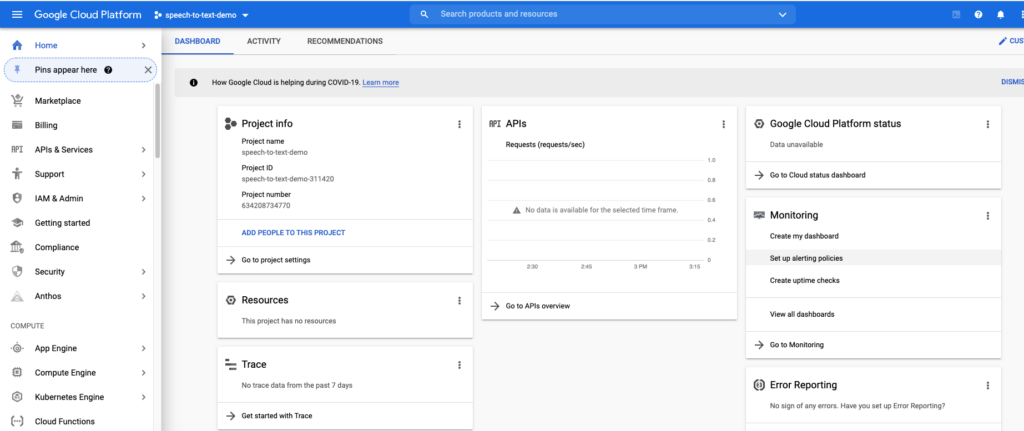
7. Now you can see the project your project selected and see a screenshot as below.
8. We need to Activate the Cloud Shell to Start Cloud Shell

9. You can see a window for a shell and a Cloud Shell popup appears.
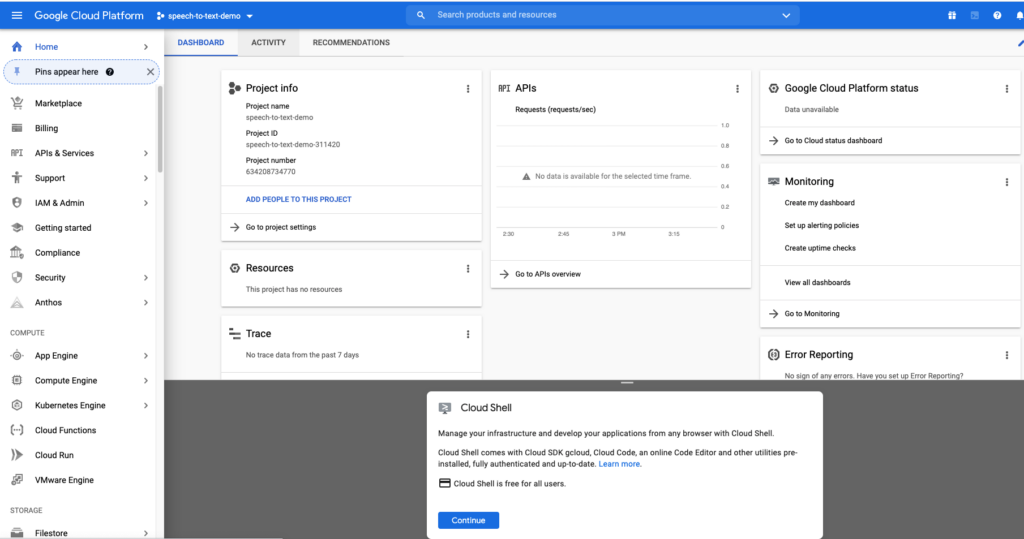
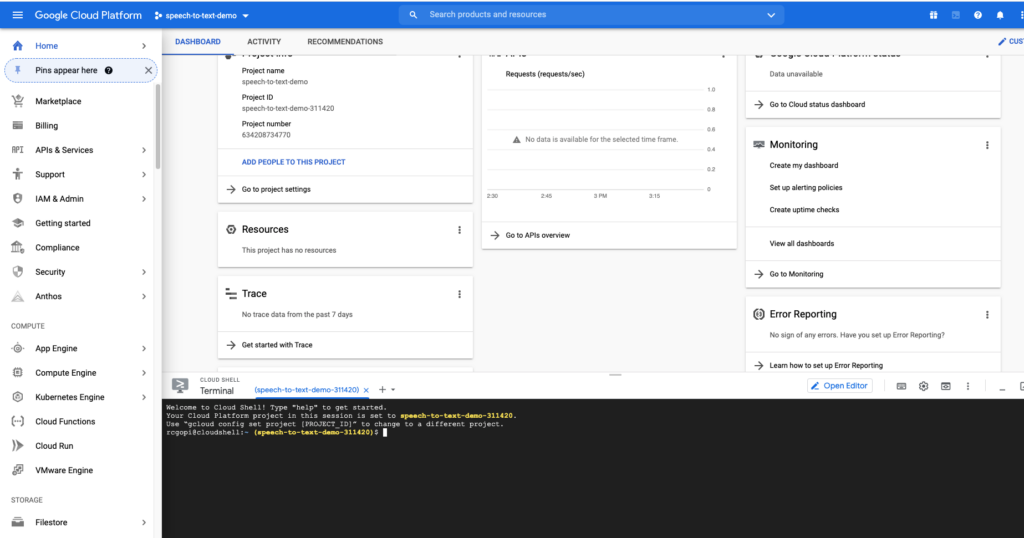
10. Click Continue and wait for few seconds and you can see below CLOUD SHELL Terminal for your project.
11. Run below command to authenticated Cloud Shell
gcloud auth list
12. You may get Popup to Authorize Cloud Shell and click “Authorize”

13. You get output as below:

14. Run the below command and it will show your project name as “xxxxxxx” with suffix number added.
gcloud config list project15. Run below command with project your project (Replace with your project id) that was showing on above step.
gcloud config set project speech-to-text-demo-311420

16. Enable Google Cloud Speech-to-Text API with the below command.
gcloud services enable speech.googleapis.com

Note: You may get an error as below if don’t set your billing account for the project.
ERROR: (gcloud.services.enable) FAILED_PRECONDITION: Billing account for project ‘634208734770’ is not found. Billing must be enabled for activation of service(s) ‘speech.googleapis.com’ to proceed.
Substeps for error: Go to the left Menu and Click Billing and update your card details to Google to go to the next steps.
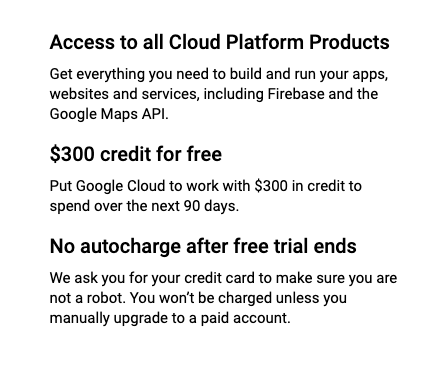
We get $300 credit for free for 90 days and we can test our projects.
17. Authenticate API requests for your project and run the below command,
export PROJECT_ID=$(gcloud config get-value core/project)

18. Create a new service account for Speech-to-Text API to create credentials for Python code to log in with your new service account.
gcloud iam service-accounts create my-stt-sa \ –display-name “gc-stt”
shows the message as “Created service account [my-stt-sa].”

19. We need to save the above new service account and credentials as a ~/key.jsonon JSON file with the following command.
gcloud iam service-accounts keys create ~/key.json \
  --iam-account my-stt-sa@${PROJECT_ID}.iam.gserviceaccount.com

Note: my-stt-sa is the default which I have not changed whatever google has given and you can see your key on the message which I masked.
20. The last step, we set GOOGLE_APPLICATION_CREDENTIALS an environment variable, that is used by Speech-to-Text client library.
![]()
21. Update google cloud speech
pip3 install --user --upgrade google-cloud-speech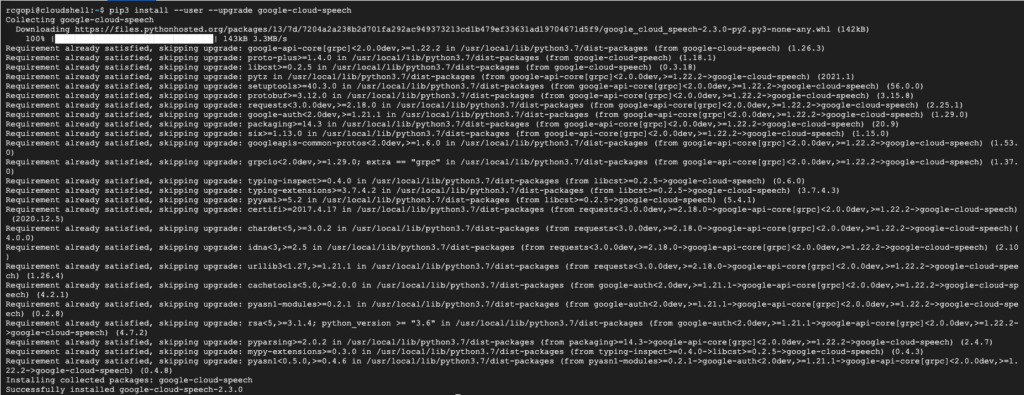
21. Start Python on console with a command
ipython

Hurray! All steps are done and we will move onto Part 2 to see real action with a code for translation to French, German, and other languages too.
These all step-by-step content for python is available in Google Cloud.
Read Artificial Intelligence, Deep Learning, and Machine Learning articles:
AI Talkbot Personal Assistant Using Neural Networks and NLP
Fundamental Concepts of Machine Learning
Predict Customer SO Price Using ML Supervised Learning: Expectations vs. Reality
Artificial Intelligence Chatbot Using Neural Network and Natural Language Processing



Leave A Comment